Travel card boxes (with design tutorial)
When traveling by plane or train (or by any means), every little bit of space can be precious. I like to take some card games with me, but this summer I noticed that the boxes of those card games were a lot bigger than necessary. Additionally, some were in a bad state from previous trips. The evening before leaving, I decided to design some quick boxes to solve both problems. (Yes, just a few hours before leaving was asking for stress…)
As this project is so simple, there is a quick tutorial at the end to help you make your own card boxes.
Materials & Tools
- 3D Printer: Standard FDM printer
- Filament: PLA (a reliable choice for quick prints with decent durability)
- Nozzle: 0.4mm (no need for anything special here—standard settings worked fine)
The Design Process
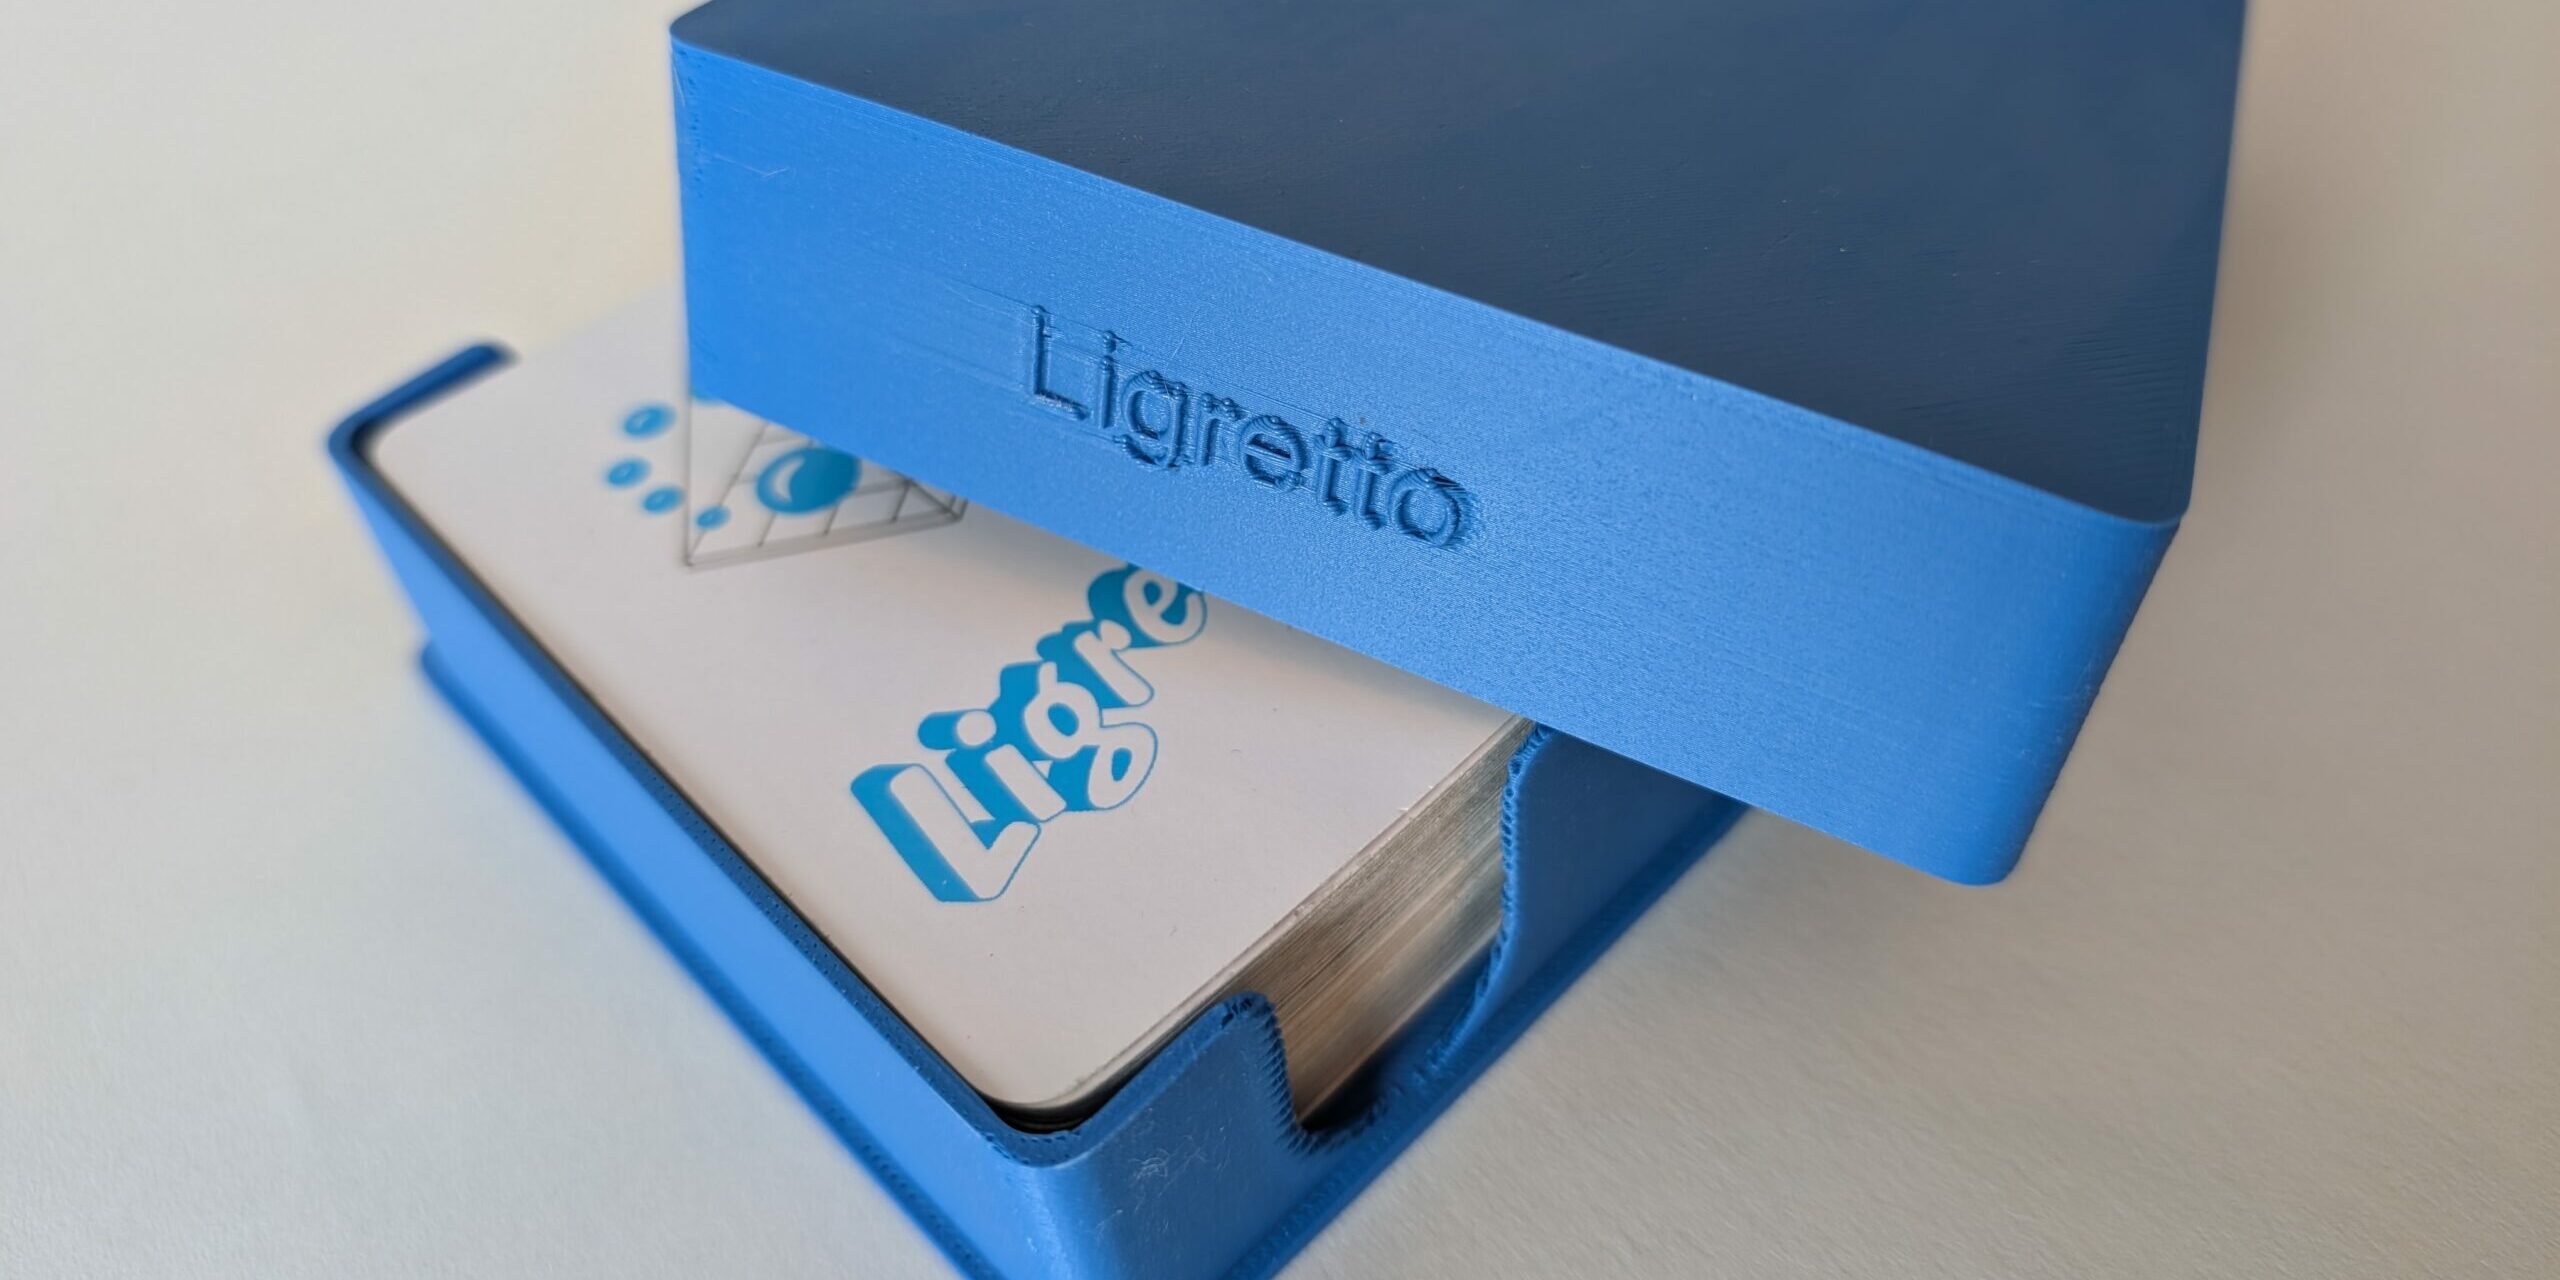
Since I wanted to be able to easily make boxes for different card games, I went with a parametrized design to quickly adjust the box dimensions. The goal was simplicity: create boxes that were compact, functional, and sturdy enough to protect the cards during travel while saving some precious space. I focused on two games in particular Ligretto and Exploding Kittens, since they were the ones I wanted to take with me.
There are definitely more elaborate designs out there, but sometimes, simplicity is key. I didn’t want to spend hours prototyping; I just needed something that worked. And honestly, there’s something satisfying about a simple, effective solution that solves a problem right when you need it.
Final Results
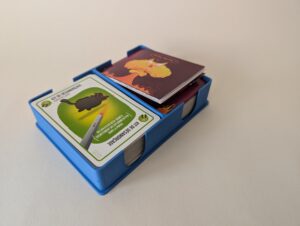
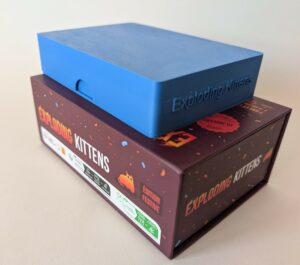
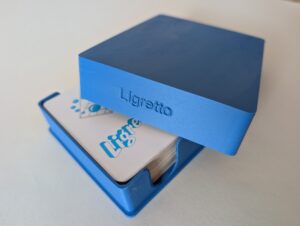
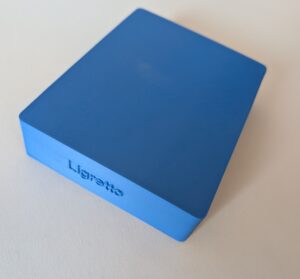
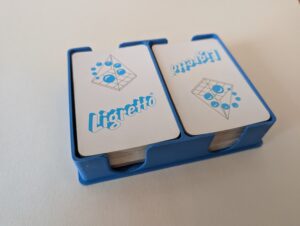
In the end, the boxes turned out just as I needed them! They’re compact enough to save space in my luggage, and the cards fit snugly inside without any unnecessary bulk. Plus, the durability of the PLA (over the original cardboard) will prevent any more wear and tear during travel.
Final Thoughts
This project shows that you don’t always need to spend hours perfecting a design—sometimes, a simple, quick solution is all you need. These boxes did the job, saved me space, and protected my games from further damage during travel. I’ll probably revisit the design and refine it later, but for now, they’re a perfect travel companion!
Tutorial
If you would like to design your own travel / protective box for your cards, here is an overview of the design steps and measurements. To get started, take your card game and take the following three measurements (ideally, in your design later, make it parametric based on these three data variables):
- card-width: the width of a single card
- card-height: the height of a single card
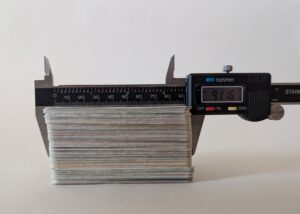
- stack-height: height of the stack of all cards in the game
Additionally, define the following:
- wall-width: strength of the walls for the box. 1.6 mm is a nice compromise between strength and compacticity.
- corner-radius: radius of the corner rounding. I used 4mm for this project.
- lid-offset: the offset between the base walls and the lid. Setting this too low will not allow your box to close and too high can make it too loose. I suggest starting with 0.3mm
- card-offset: the offset between the cards and the box. Similarly as with the lid, setting it too small will make your cards hard to put in and remove from the box. Setting it too large will let them move around too freely. I started with 0.25mm.
For example, this may look as follows in your design software if using parameters:

Now you have everything to get started!
Base
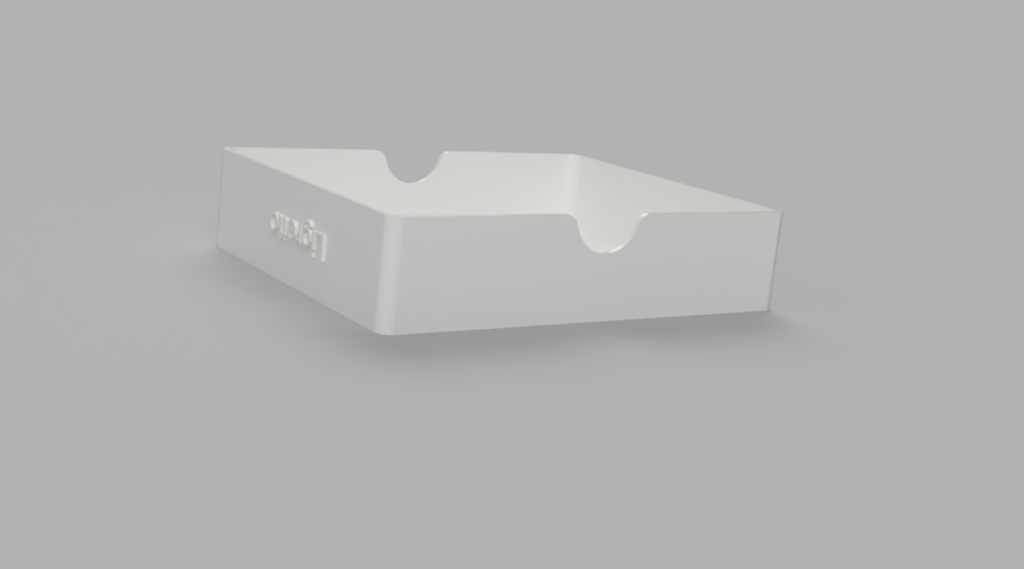
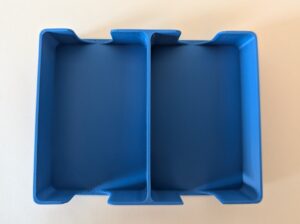
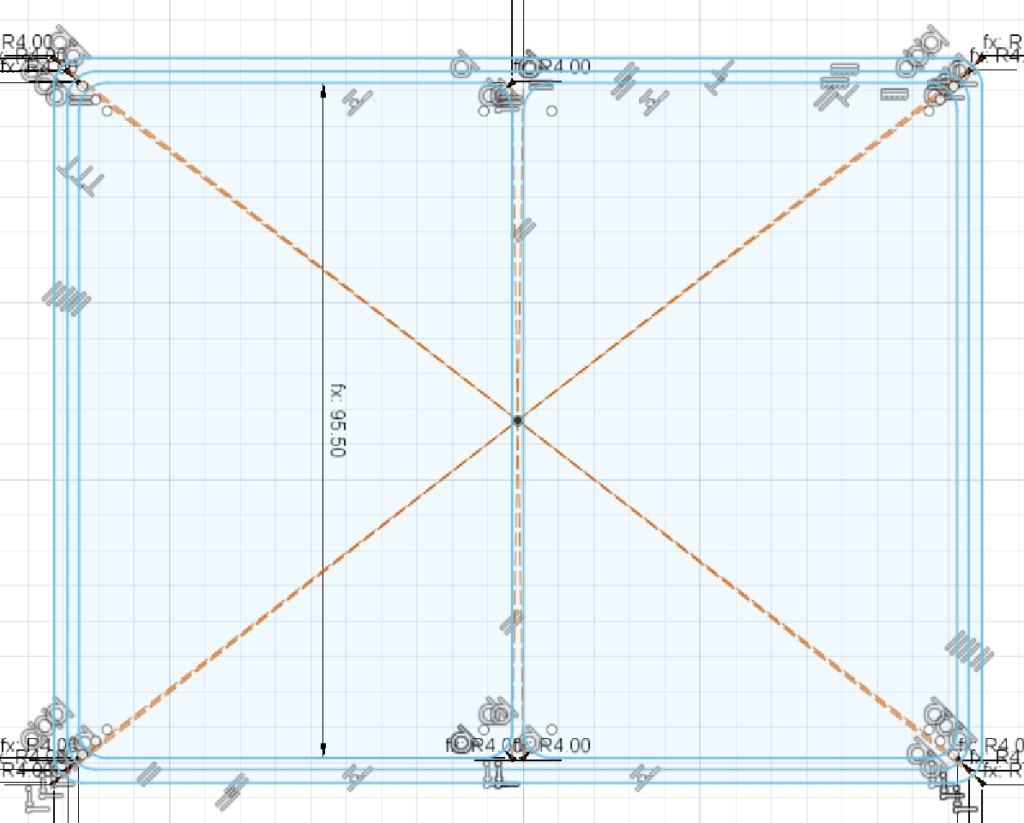
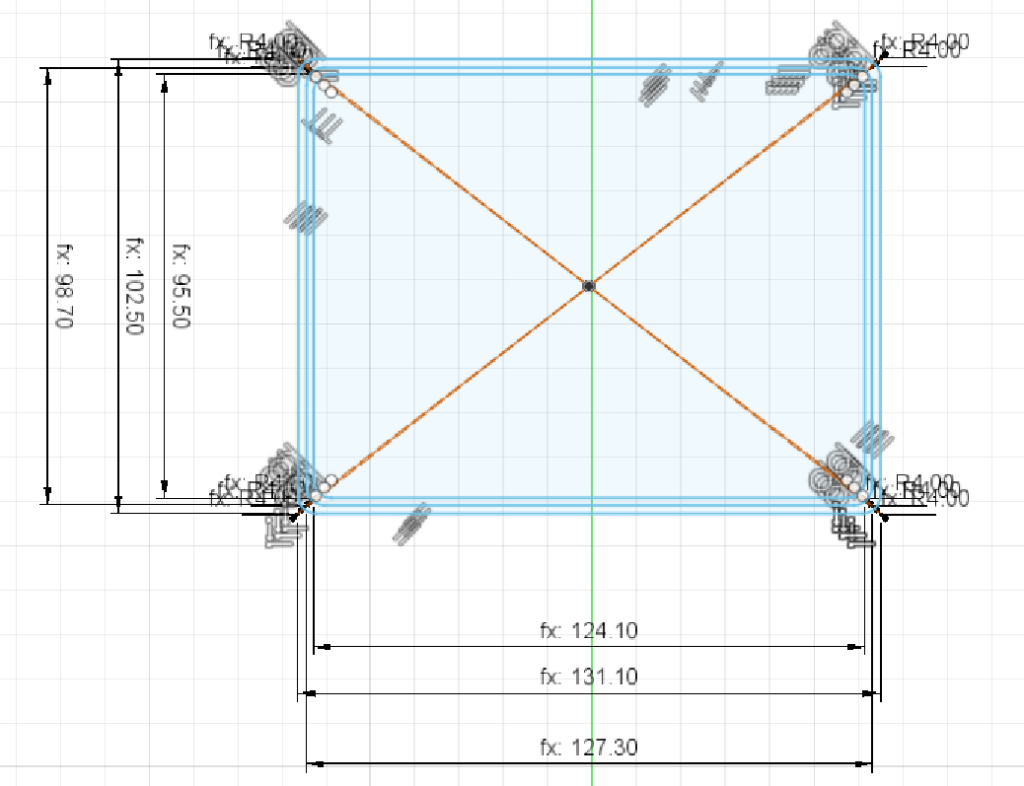
Let’s start with the base (bottom piece) of the box. It is composed of a flat rectangle (with rounded corners) and some walls to contain the cards neatly. The sketch looks complicated, but is easy to make with the measurements above!
- Start by creating a rectangle with the following dimensions:
- width – d1: cardwidth * 2 + wallwidth + cornerradius + cardoffset * 2
- height – d2: cardheight + cardoffset * 2 + cornerradius
- Round the corners with your pre-defined corner radius. You now have your inside walls.
- Create two additional rectangles with the same center points and corner fillets with the following dimensions:
- Outer walls:
- width – d3: cardwidth * 2 + cornerradius + cardoffset * 2 + 3 * wallwidth
- height – d4: cardheight + cardoffset * 2 + cornerradius + 2 * wallwidth
- Box boundary:
- width: cardwidth * 2 + cornerradius + cardoffset * 2 + lidoffset * 2 + wallwidth * 5
- height: cardheight + cardoffset * 2 + cornerradius + wallwidth * 4 + lidoffset * 2
- Outer walls:
- You now have three rectangles with rounder corners in each other. Before we start extruding, we just need to add the separator wall. For that, create a final rectangle with the same center points and the following measurements: wallwidth and d1 (don’t fillet the corners yet)
- Now, remove the small wall at the top of the rectangle we just created (to create two separate stacks) and fillet the inside corners.
- We are now ready to save the sketch and start extruding!
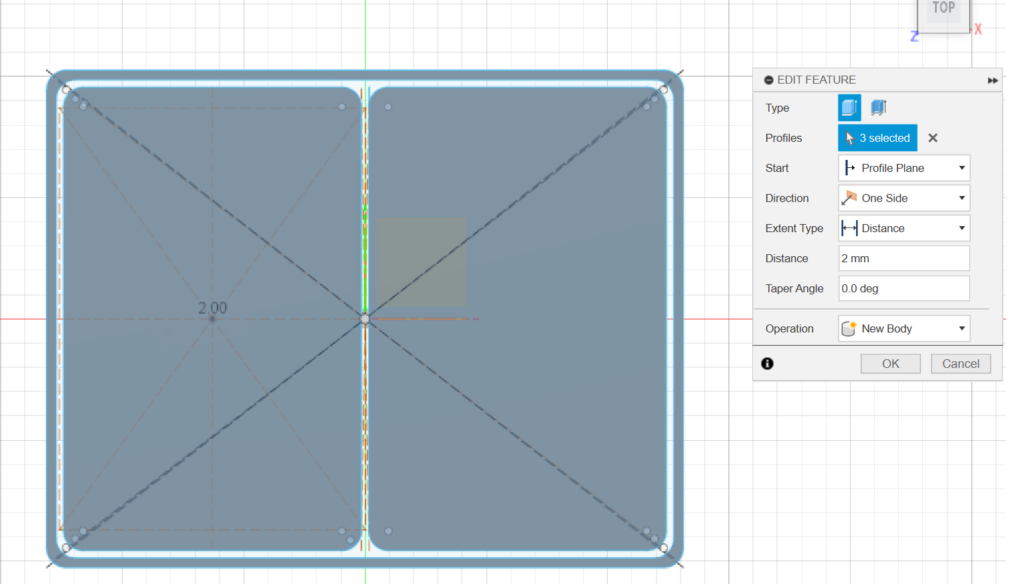
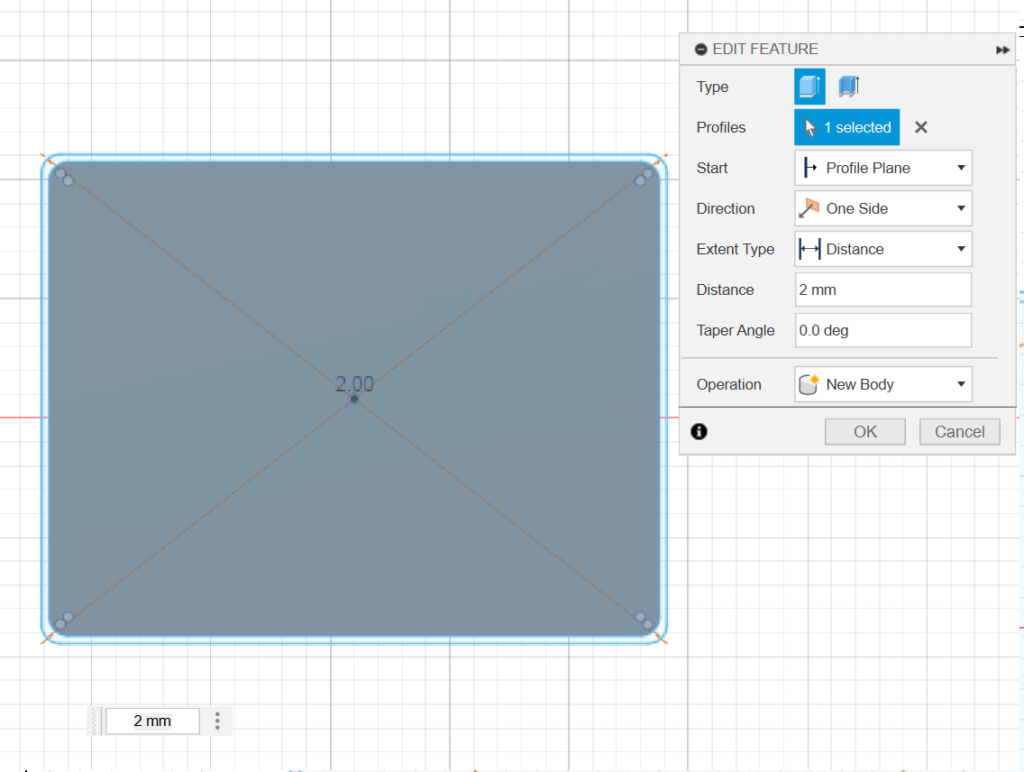
- Press pull all the base surfaces with 2mm:
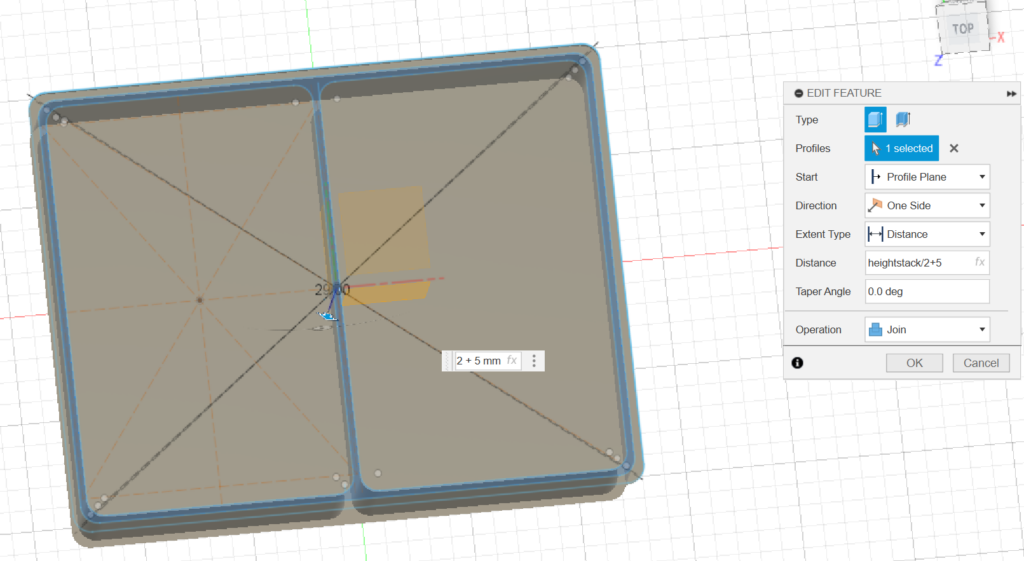
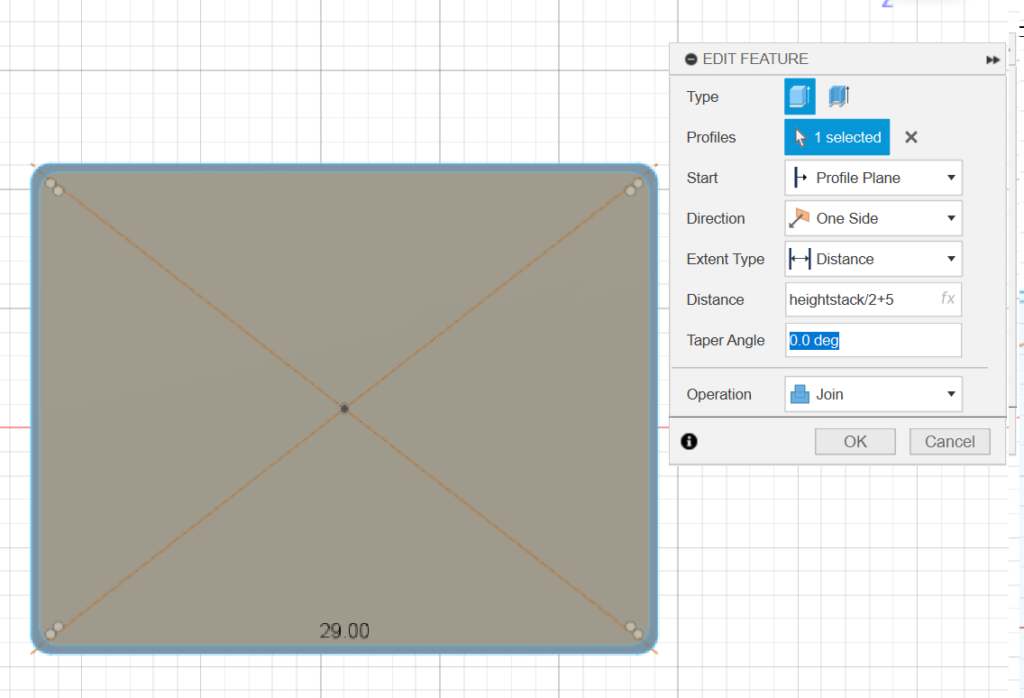
- Press pull the walls with half the height of the stack and some margins (I took 5mm) (make sure to join with the previous body):
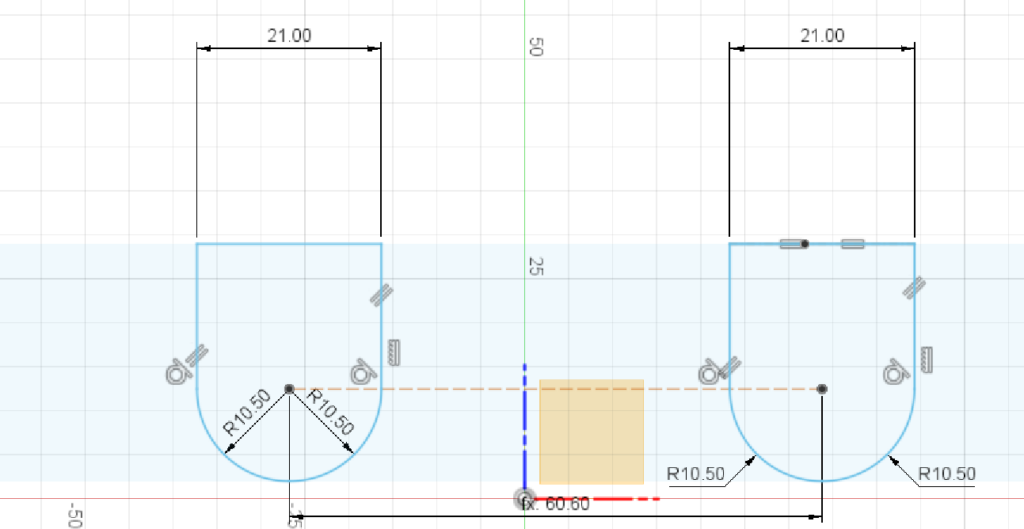
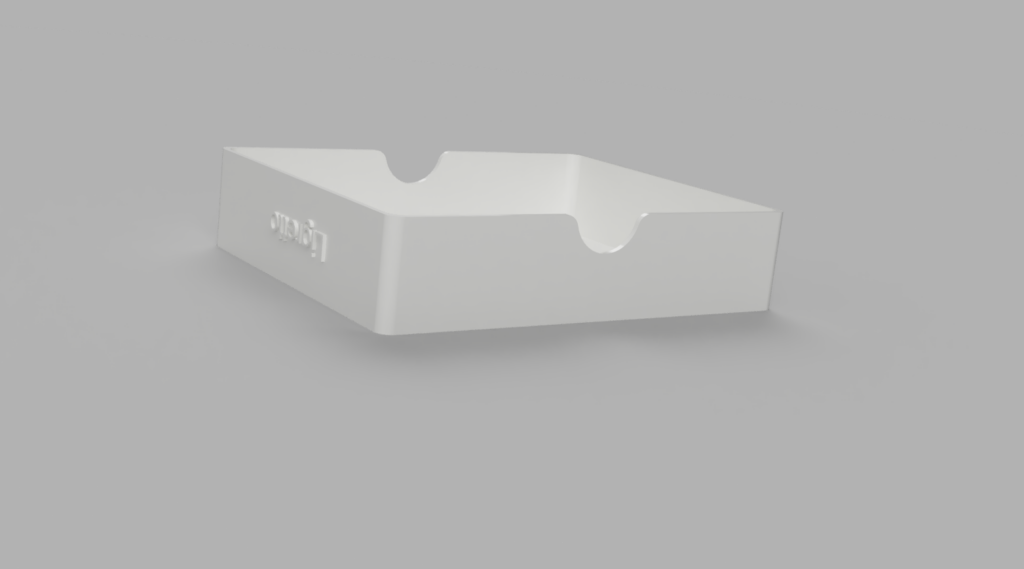
- Next, we need to sketch the holes on the side to be able to easily remove the cards. Here the design is really up to you, I went with some simple rounded shape, but a rectangular hole will work as well.
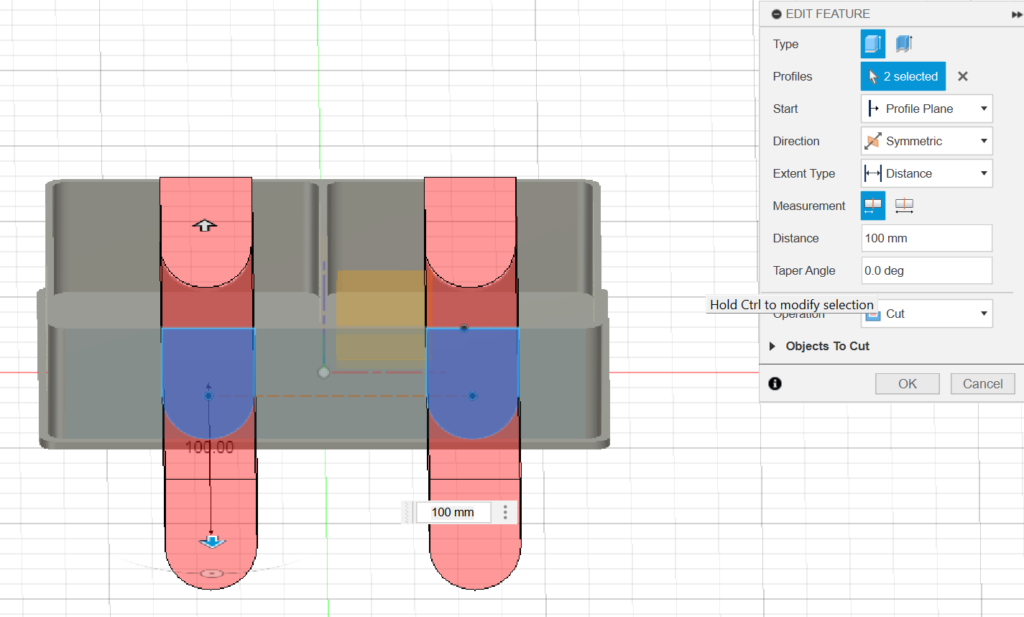
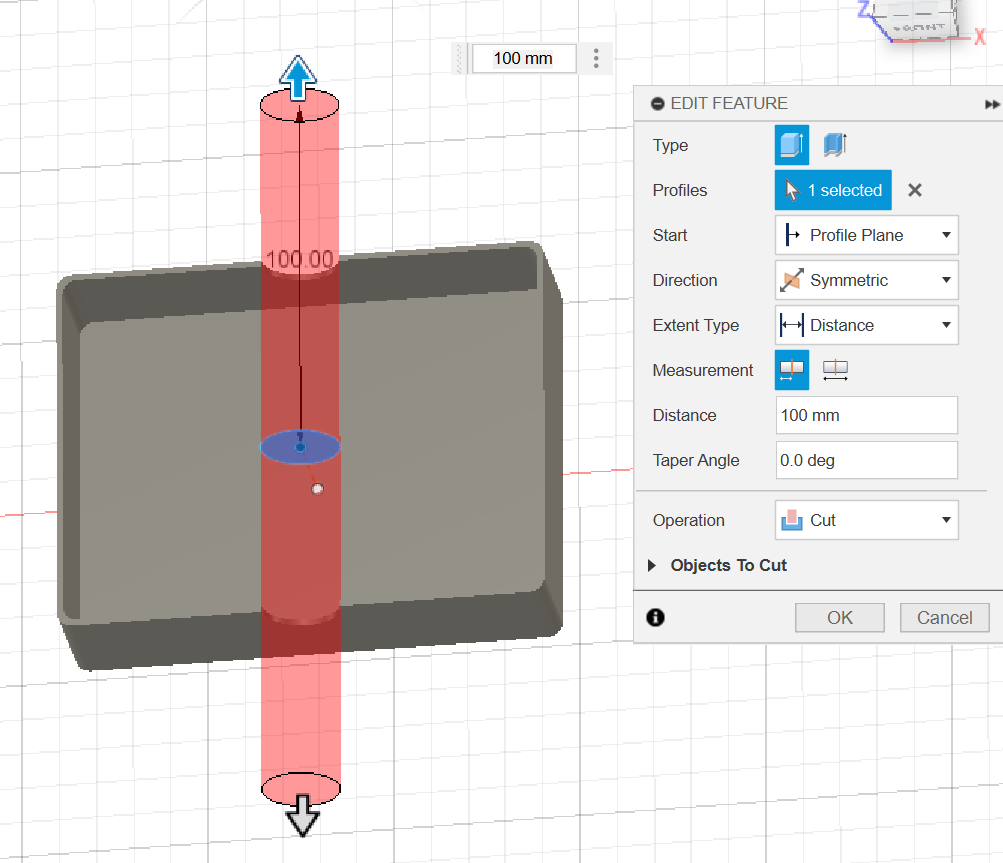
- Press pull and cut the existing body to create the holes. I made the holes on both sides of the box, but you could also decide to cut only one wall.
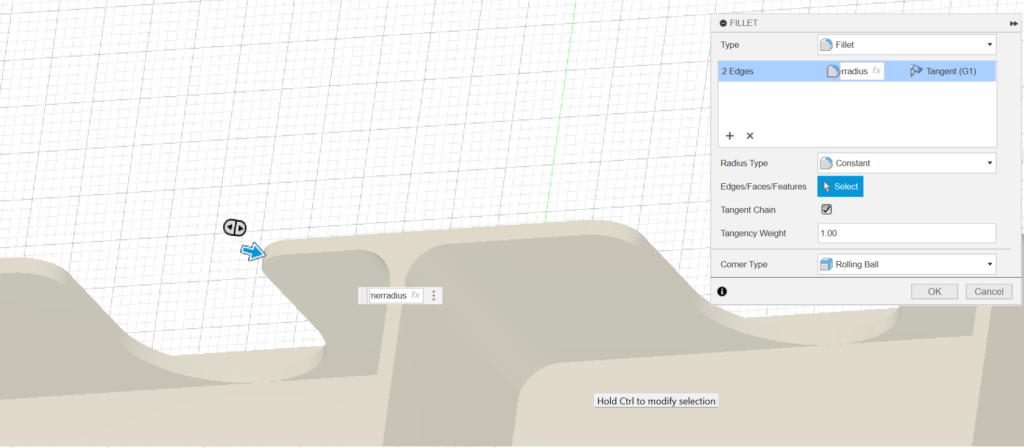
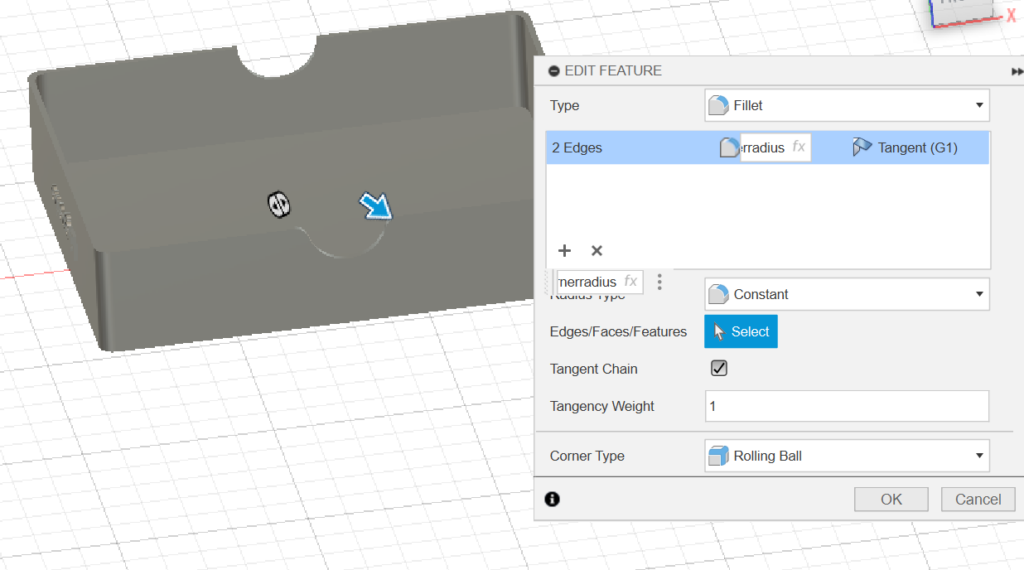
- Fillet the cutout corners
- And there you go, the base is done!
Lid
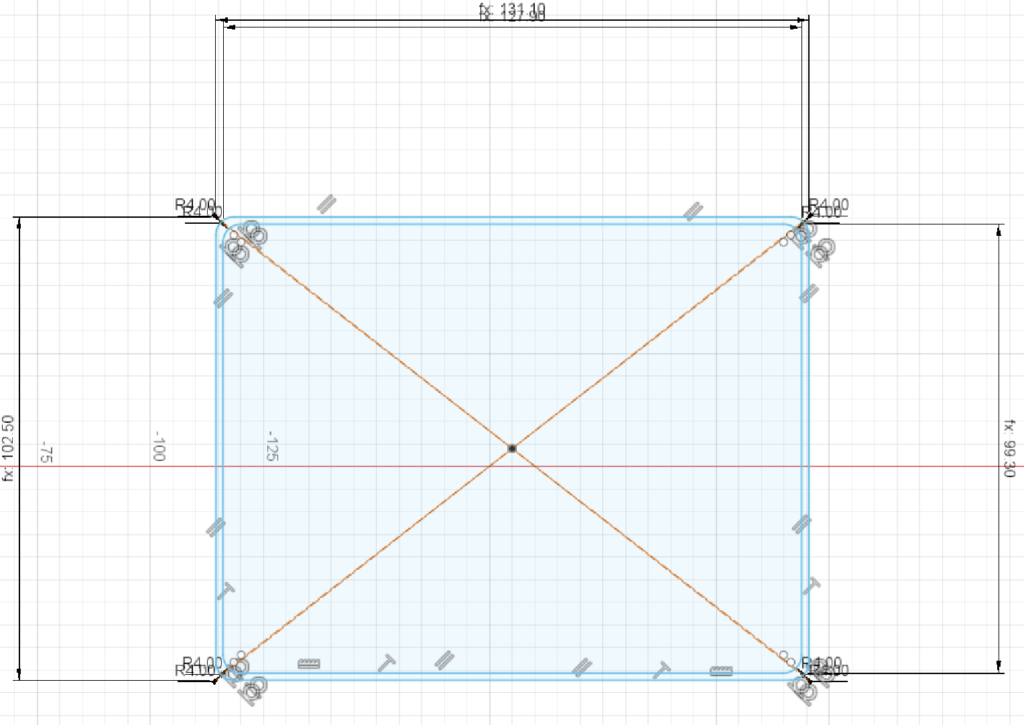
- The lid is made quite similarly to the base, but is a lot simpler shape. Start by sketching with the following rectangles (all with the same filleted corners):
- Outer walls:
- width: cardwidth * 2 + cornerradius + cardoffset * 2 + lidoffset * 2 + wallwidth * 5
- height: cardheight + cardoffset * 2 + cornerradius + wallwidth * 4 + lidoffset * 2
- Inner walls:
- width: cardwidth * 2 + cornerradius + cardoffset * 2 + lidoffset * 2 + wallwidth * 3
- height: cardheight + cardoffset * 2 + cornerradius + wallwidth * 2 + lidoffset * 2
- Outer walls:
- Press pull the “base” of the lid by 2mm
- Press pull the walls of the lid by the same height as the base (in my case half the stack height + 5mm)
- Create a circle sketch and press pull to create a small opening in the lid
- Fillet the cutout corners
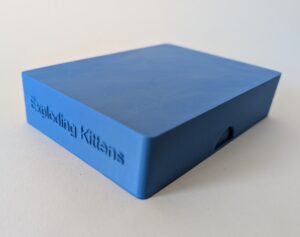
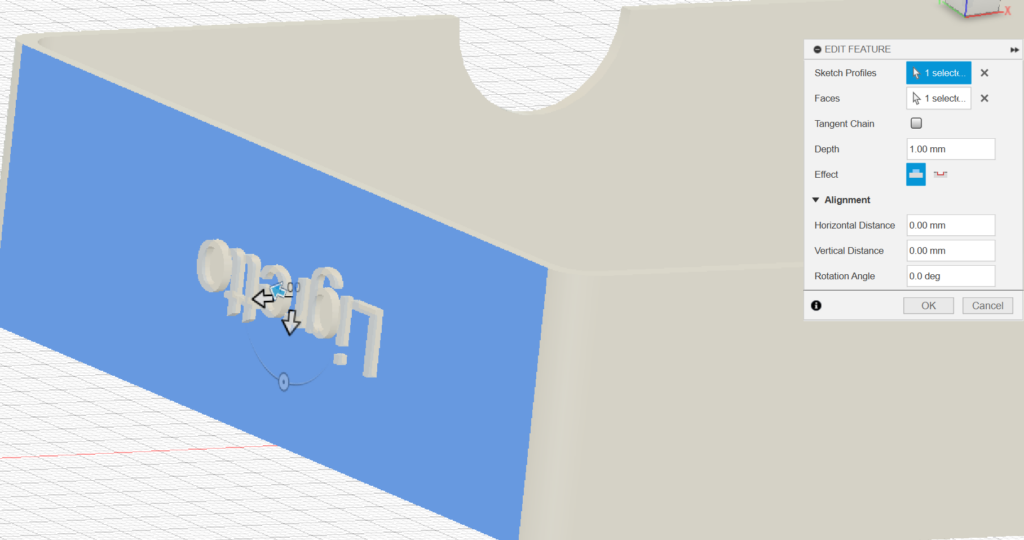
- Optionally, you can emboss the name of the game on the box by creating a text sketch and using the emboss feature or a press pull.
- And now the lid is done as well!
