The art of calibration
I’ve been printing for a few years now and have gone through the (I guess usual) phases of this hobby: initial motivation, disillusion, steep learning and relatively good results, upgrade the 3d printer, understanding slicers actually make a difference, different materials, etc… Currently, I’ve gotten more and more practice and am not as easily happy with the results as I was in the beginning. My latest project (post to follow) required the use of a beautiful green matte PLA which would just not give me good results. My printer (Creality K1 Max) which had basically been plug & play since the purchase (except the occasional nozzle clog) suddenly started showing problems, and mainly the two dreaded ones: under extrusion and bed adhesion problems.
To get rid of the two problems, I tried many things (which probably all contributed to the improvements, but didn’t quite cut it):
- Change the PEI plate (I had damaged it with a scraper)
- Replace the nozzle (due to said clogging)
- Disassemble the extruder to remove a tiny bit of filament that was stuck there
- New nozzles
- And even the excruciating process of levelling the bed (owners of the K1 / K1 max may know what I’m talking about)
Next up, change slicer settings:
- Slow print speed
- Increase temperature
- Ironing
- and others…
None of these achieved satisfying results, and I was starting to wonder whether I needed new hardware (or at the very least throw away the filament….). In an act of despair, I decided to finally dive into the world of filament calibration (temperature and flow). I soon discovered the Creality print software actually comes with some handy pre-sliced models that help with this and that it is not as much of black magic than I initially thought.
Temperature calibration
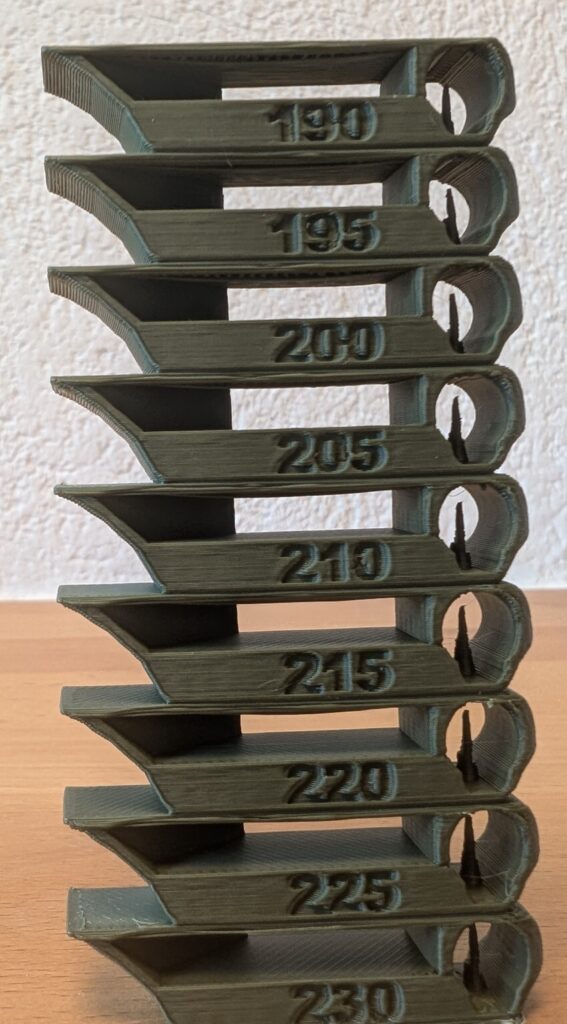
Temperature calibration for the filament consists in printing a tower made up of stacked elements that all look the same. Each element is printed at a different temperature, and the different effects of each setting can then be seen.
My temperature tower looked like the one on the left. There are some differences (more stringing on the high temperatures, for example), but globally the elements looked quite similar. After some close investigation, I decided 195 °C looked the best (which is a lot lower than what I normally use!) and configured my slicer with that temperature.
Flow calibration
The second calibration method I looked into was flow calibration. This two-step method allows configuring how much filament is pushed through the nozzle. The default setting for my filament was 0.95. This is a pretty standard setting for PLA.
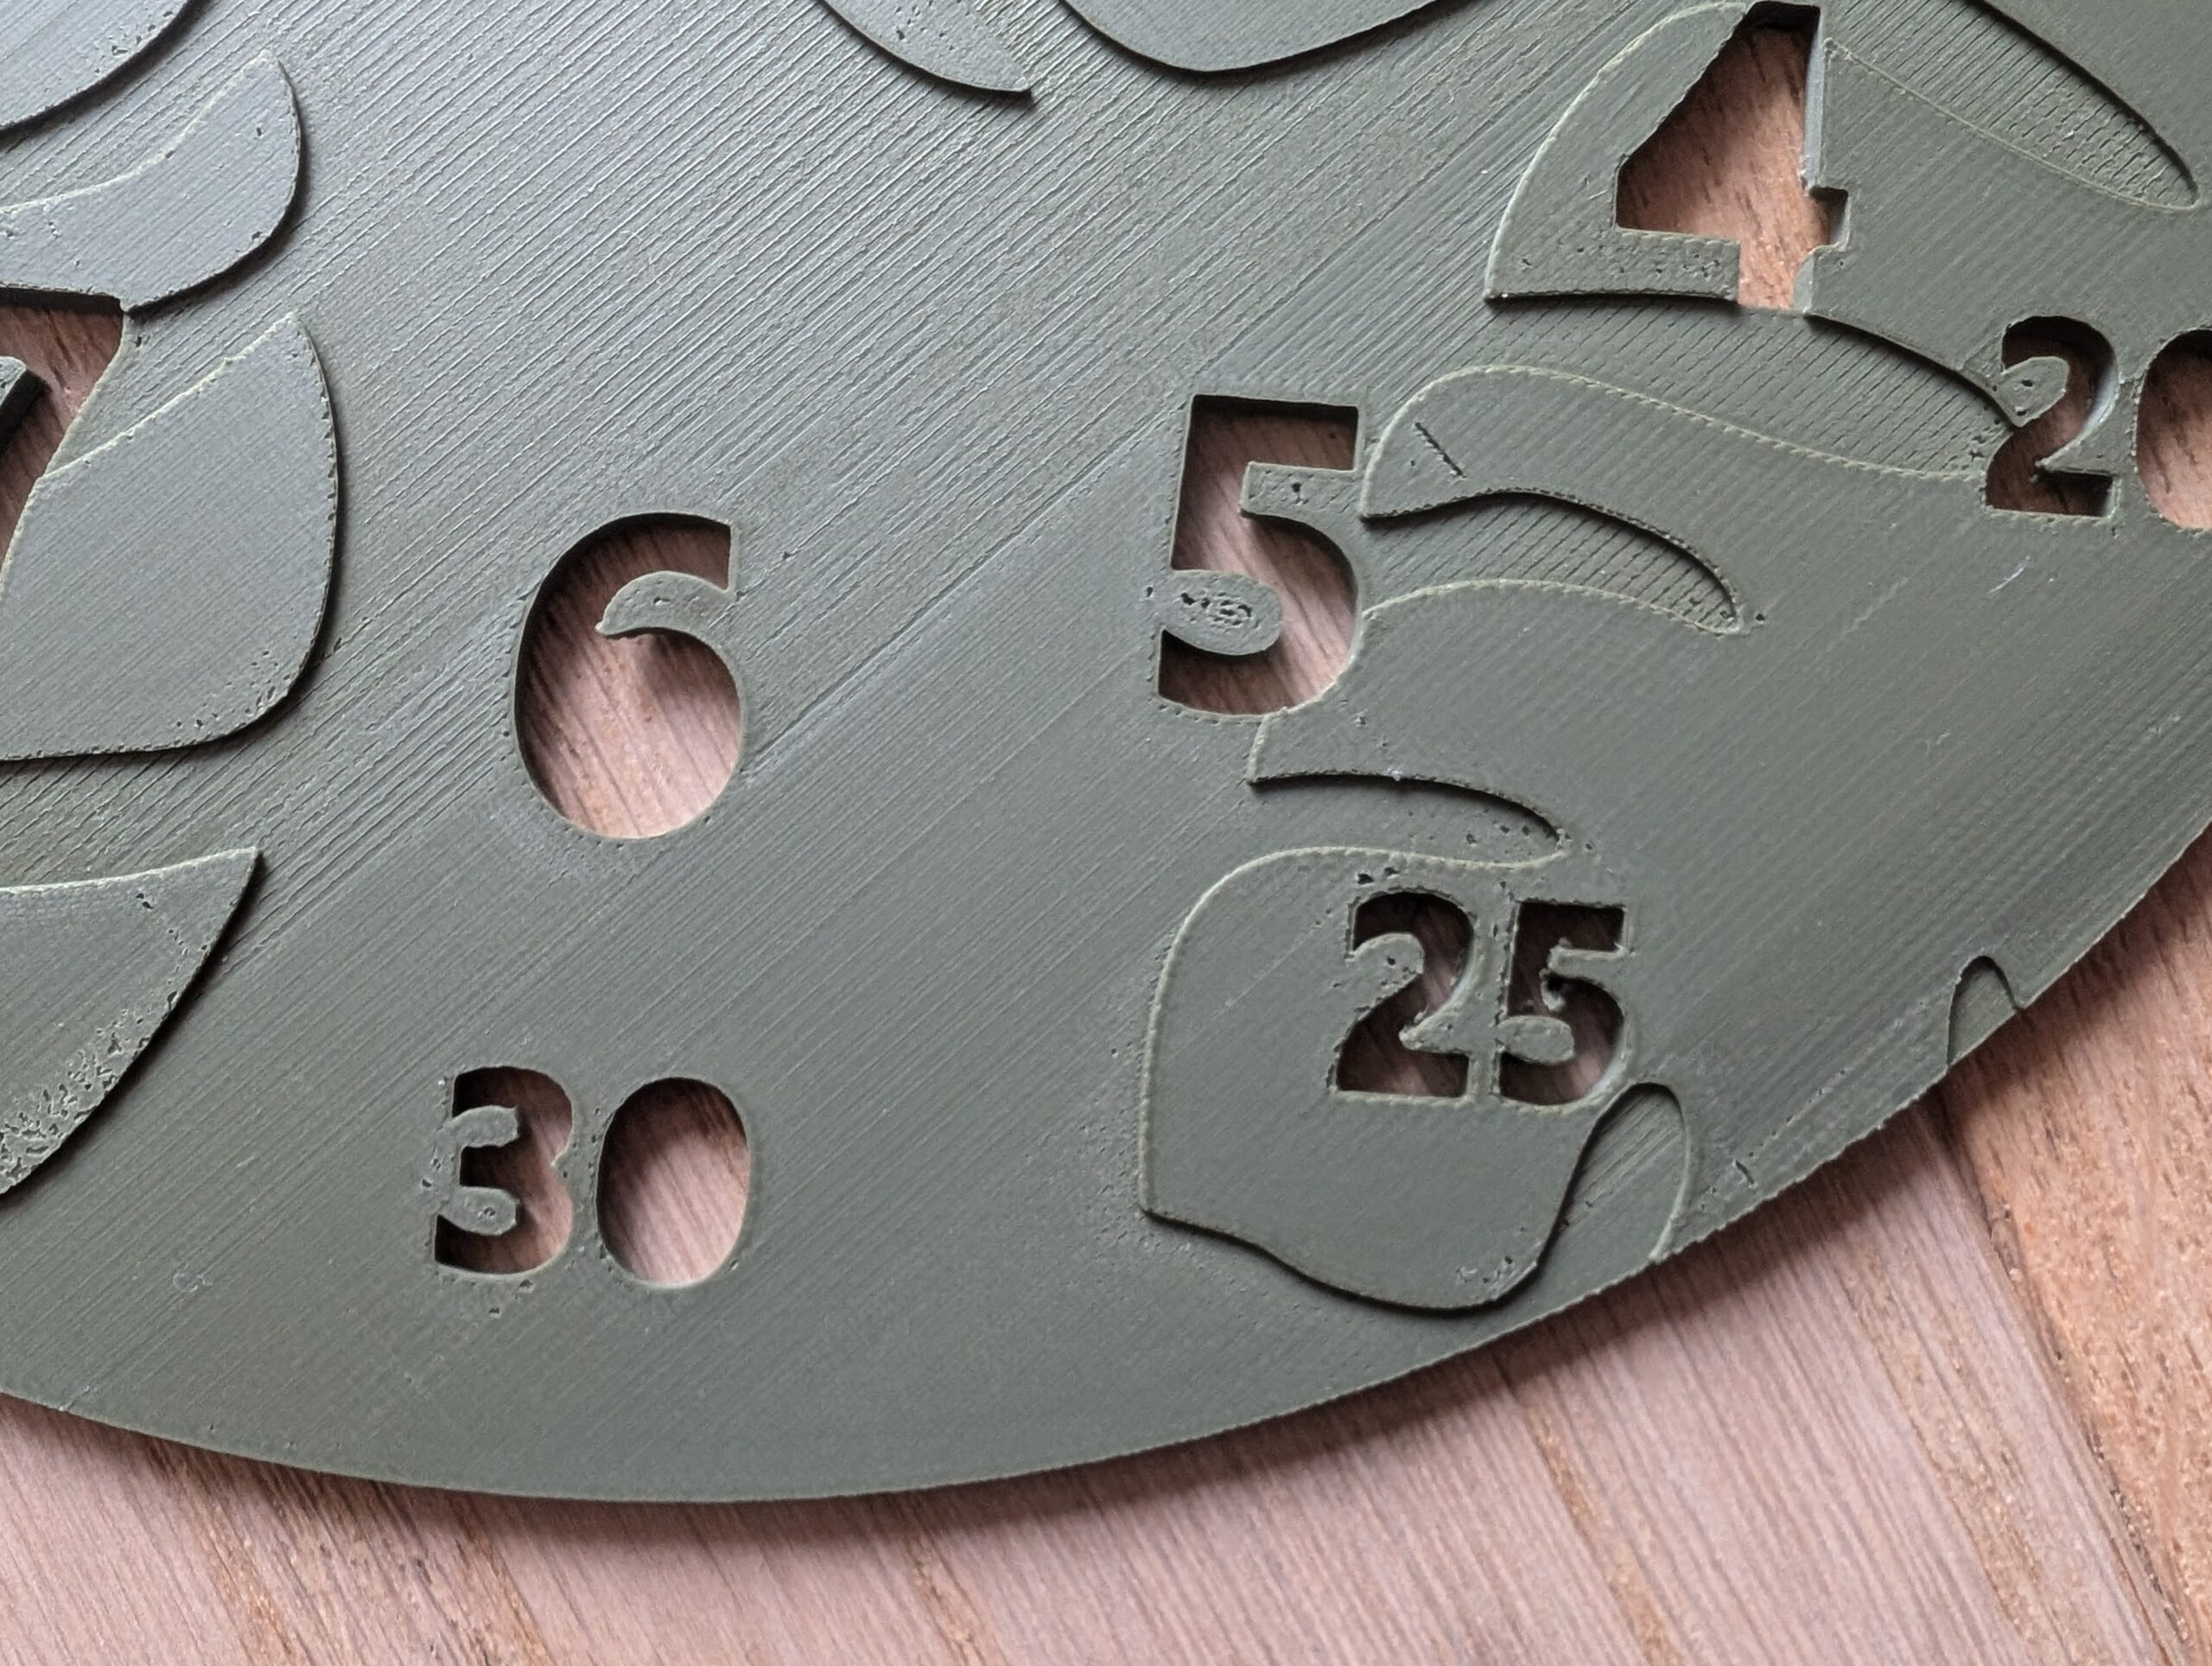
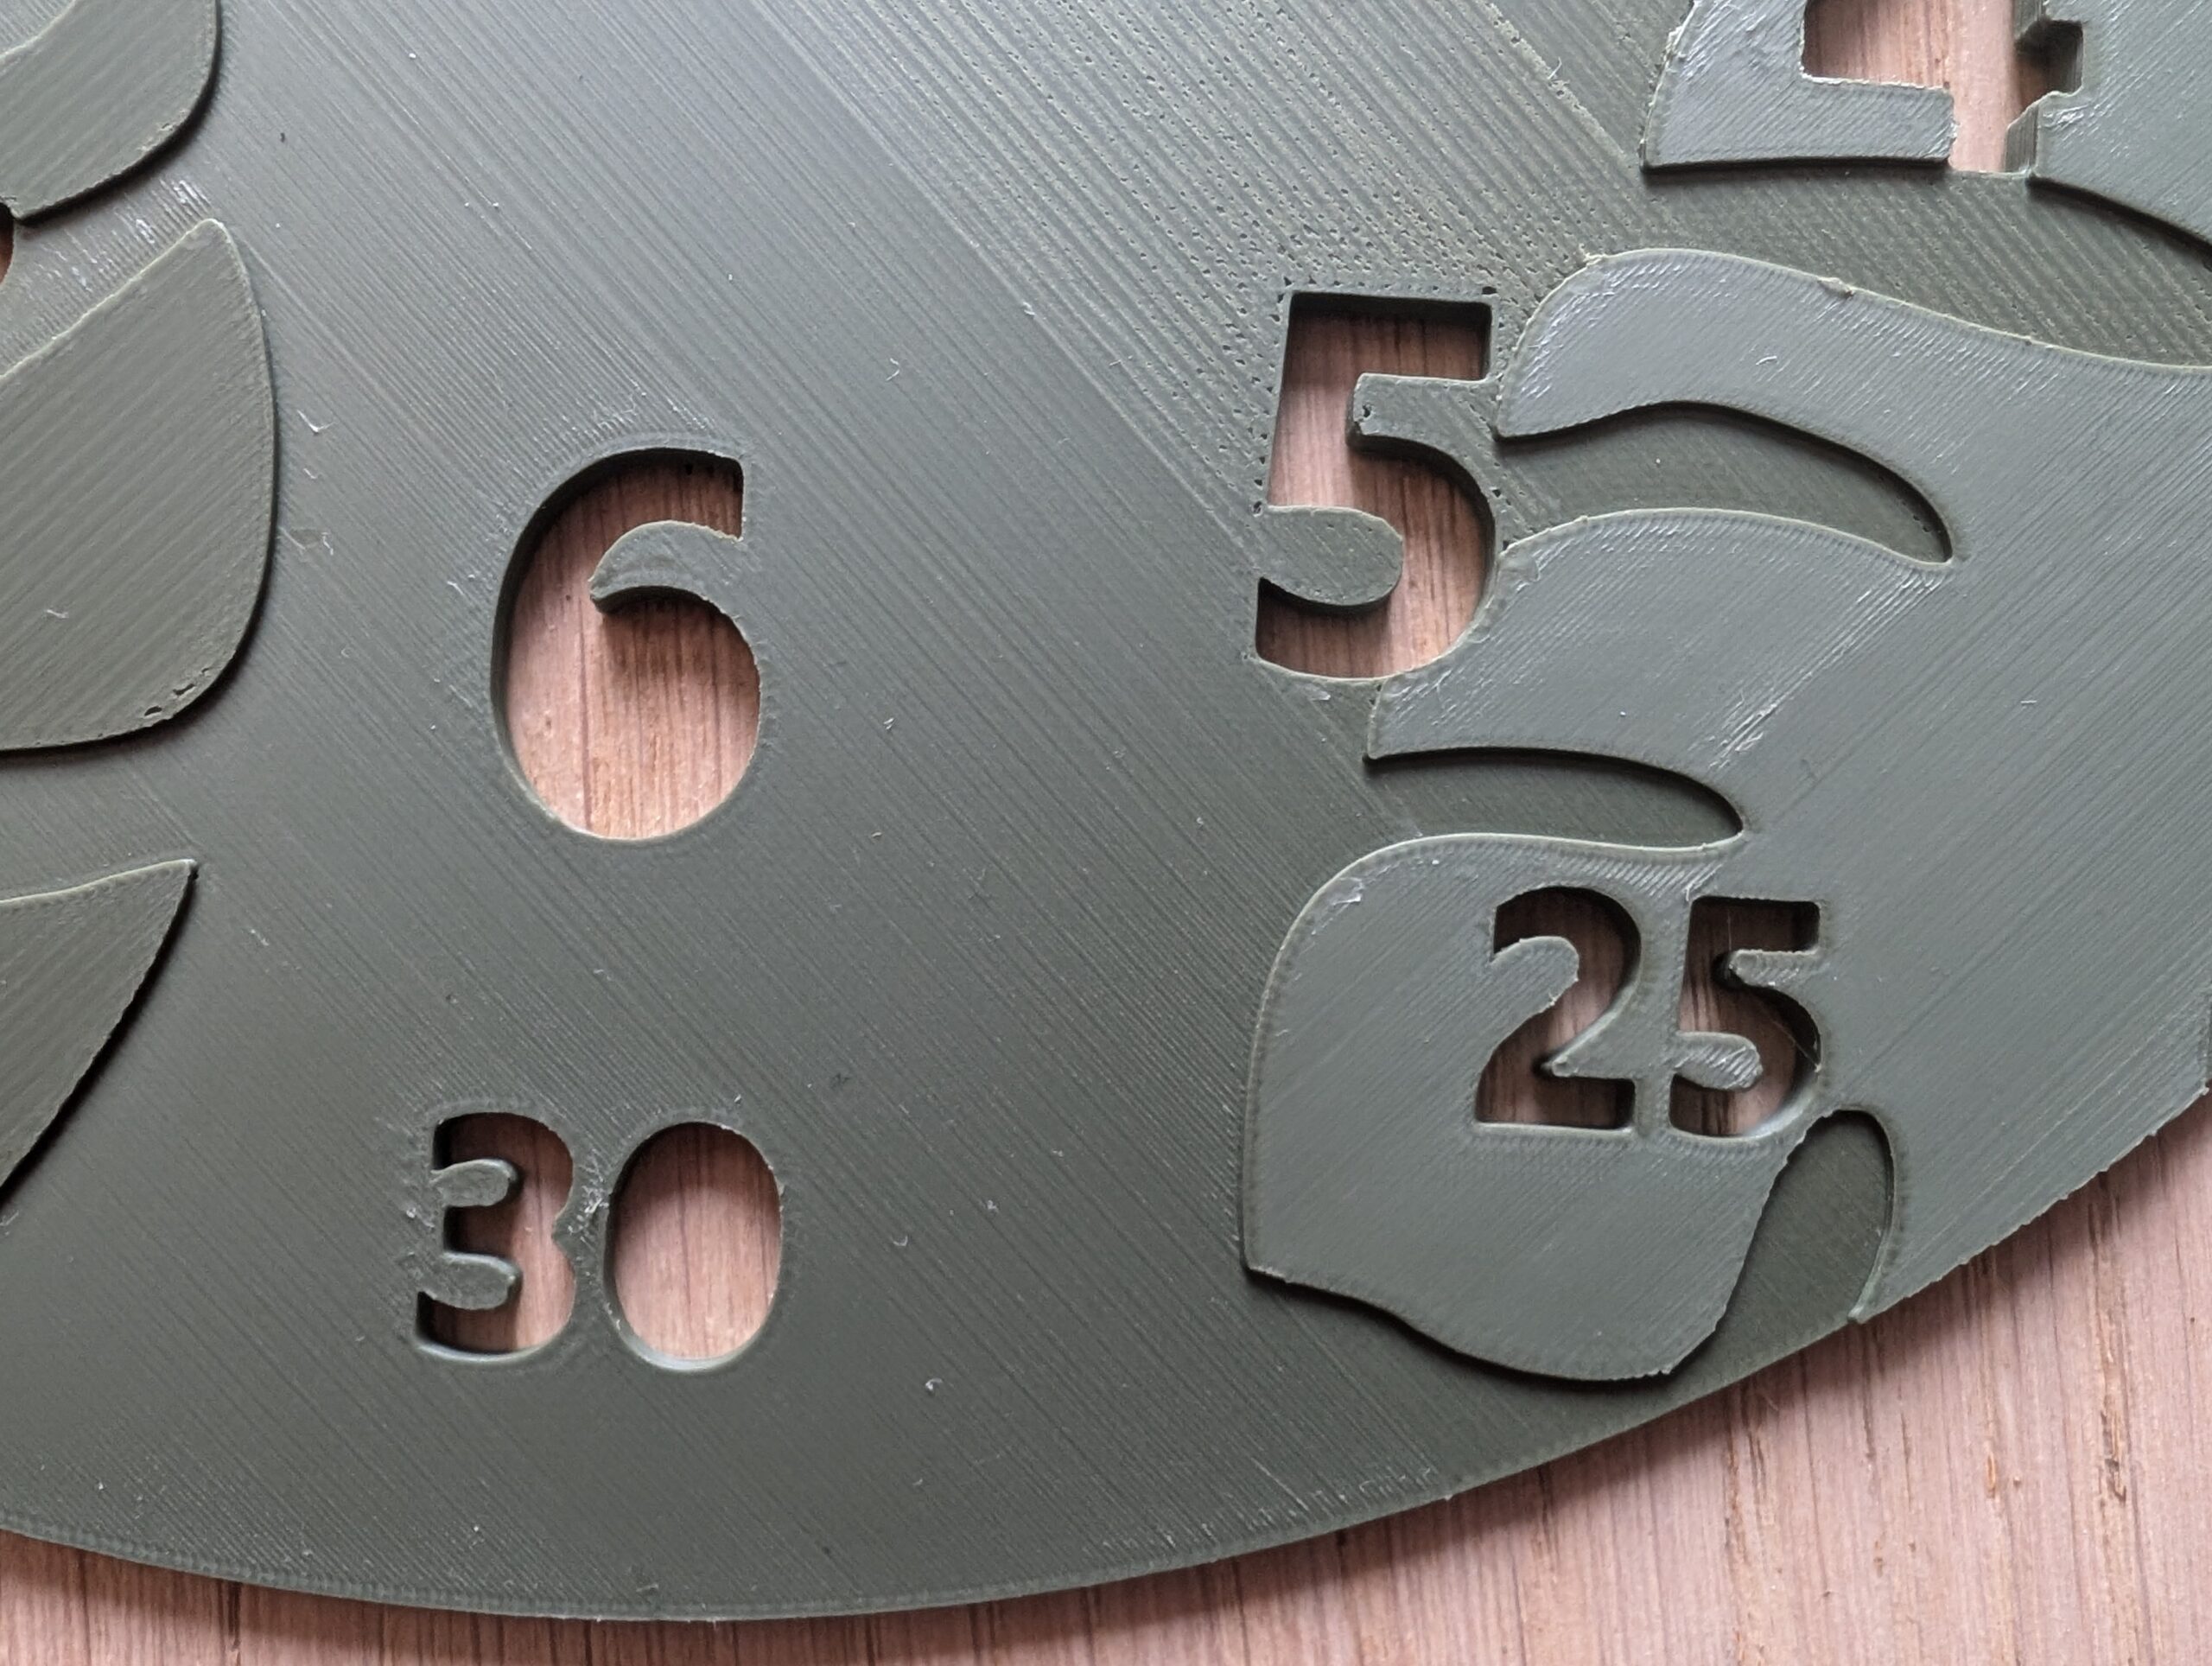
The first step of this calibration prints out 9 rectangles with different flow settings. One then chooses the best one (aka the one with the smoothest surface) and adjusts the filament settings before proceeding to step two. The adjustment follows a simple formula (in the case of my Creality):
new flow = old flow * (100 + best setting) / 100
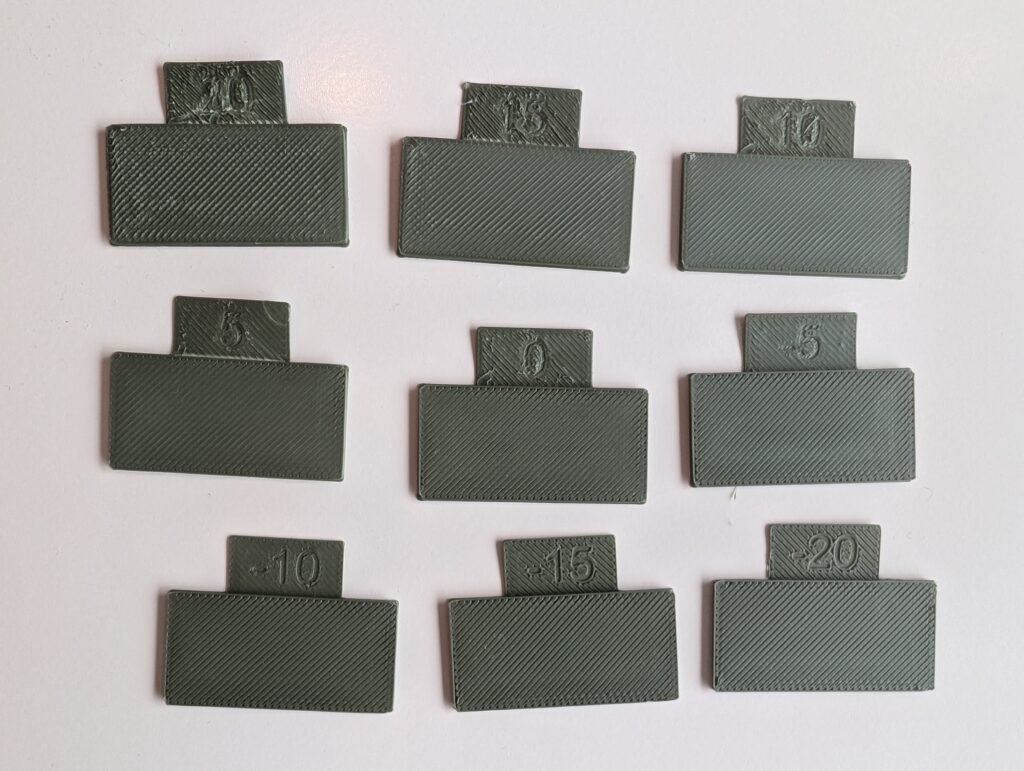
In my case, + 10 looked the best, so I adjusted my flow to 1.045. The second step is actually the same, except the samples are “closer together” with 1% increments. In my case, this actually didn’t lead to a different setting.
If it would, the formula works the same as the one before:
new flow = old flow * (100 + step 1 + step 2) / 100
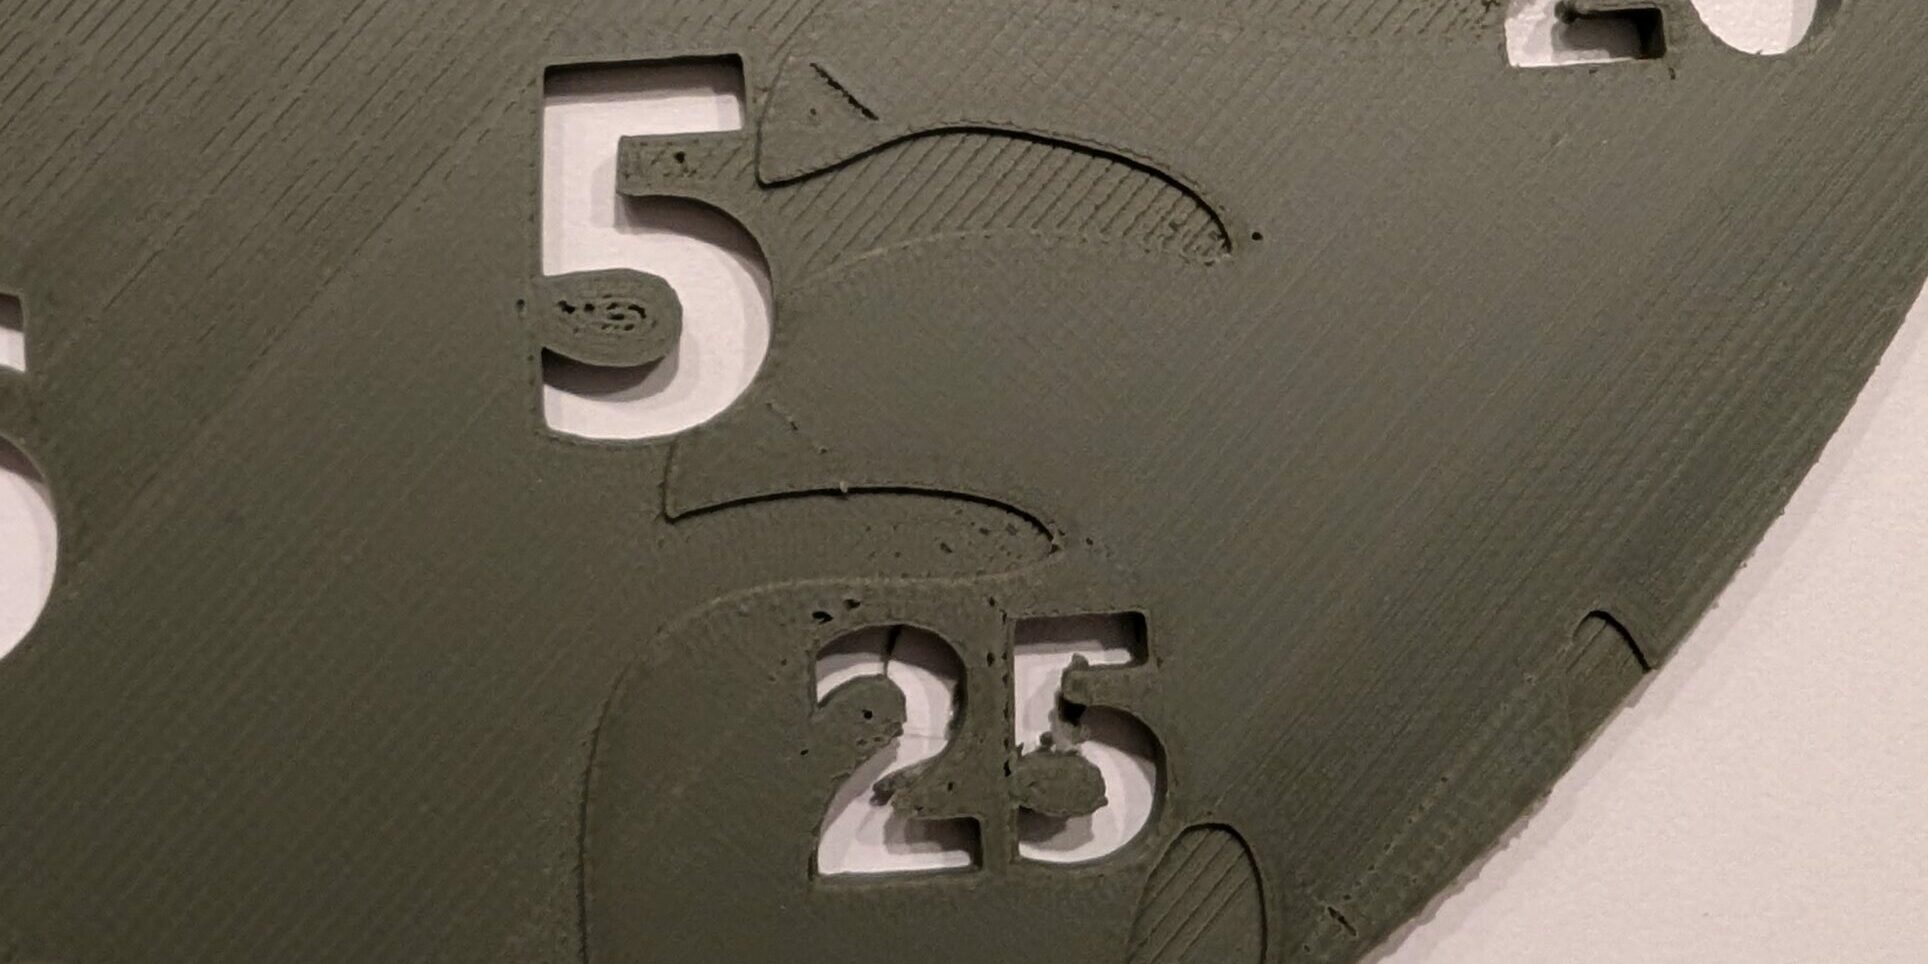
From the prints, you can already guess that this setting actually has a rather significant effect on the result!
The results and conclusion
Below are a few pictures made with different stages of optimization. As you can see, the calibration step is what made the biggest difference! (and it was by far the quickest change, the bed levelling alone took about 2-3 hours) Hence, if you ever come across a filament that just doesn’t print right, maybe give the temperature and flow calibration a try! Unfortunately, there still is some under-extrusion in parts of the print, but from > 30cm distance it’s really not visible luckily.
If you’re interested in the process I followed (Creality specific), here is the official manual explaining how to perform the calibration. There are more options available, but the two above should already allow for good improvements!
Related Posts
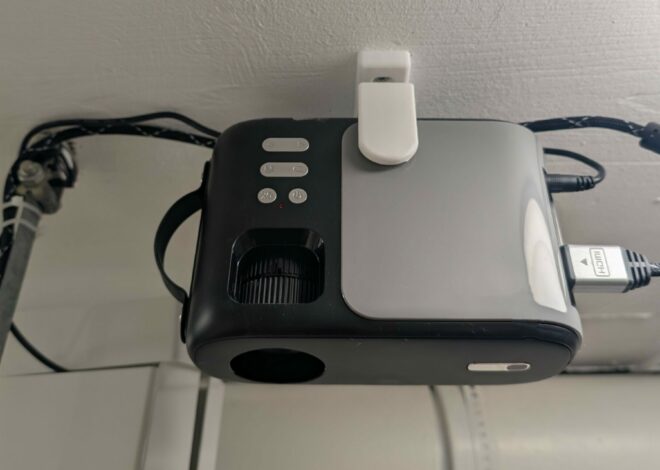
A 3D-Printed Ceiling Mount for Sewing Projectors
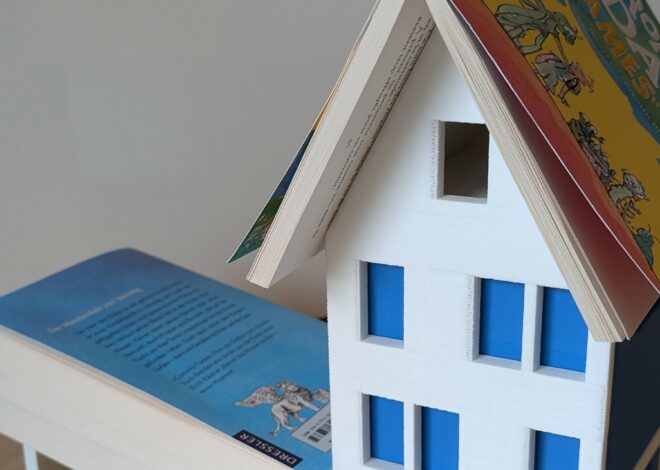
A Dutch-Design Inspired Book Stand